When you were expecting, you likely spent a lot of time researching infant carriers and rear-facing car seats. After all, your child will spend the first 3–7 years of their life in those two stages. When you were pregnant or holding your newborn, switching to a forward-facing car seat probably felt a lifetime away.
But, as every parent knows, time goes by way too fast. Before you know it, your child is heading into kindergarten, first grade, or second grade and has finally reached the rear-facing height or weight limits of their seat.
When that day arrives, many parents realize they aren't quite as prepared as they thought. Forward-facing car seat safety comes with a new set of rules, installation requirements, and best practices. Unfortunately, many parents unknowingly make mistakes during this transition, which can reduce the protection a car seat provides in a crash.
To help you navigate this next stage with confidence, we've put together a list of forward-facing car seat rules. These will help you maximize your child's safety while giving you much-needed peace of mind on every ride.
15+ Forward-Facing Car Seat Rules Every Parent Should Know
As your child transitions to the next car seat stage, vehicle collisions remain one of the leading causes of accidental injury and death for children. Fortunately, proper car seat use can make all the difference. Incorrect installation, misuse, or transitioning too early can reduce the protection a car seat provides when your child needs it most.
So, understanding rear-facing vs. forward-facing safety guidelines is critical for every parent. But finding reliable car seat information online can be surprisingly difficult. Many people, especially on social media, discuss personal preferences more than actual best practices. That's why we're here—to cut through the noise and provide trusted guidance from Certified Child Passenger Safety Technicians.
Here’s what you need to know:
What Is a Forward-Facing Car Seat?
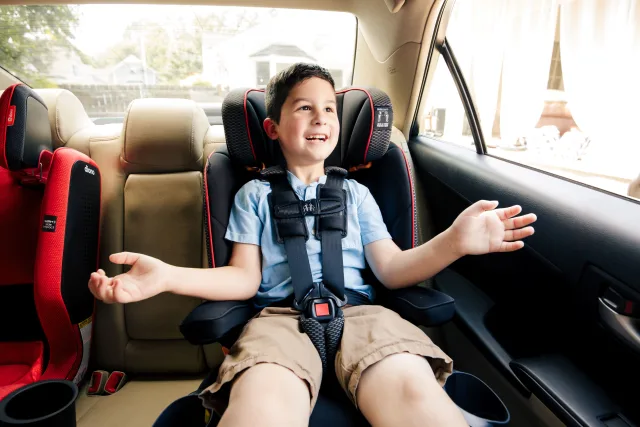
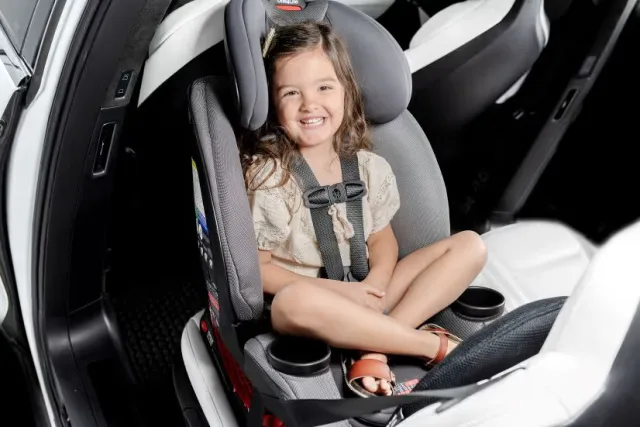
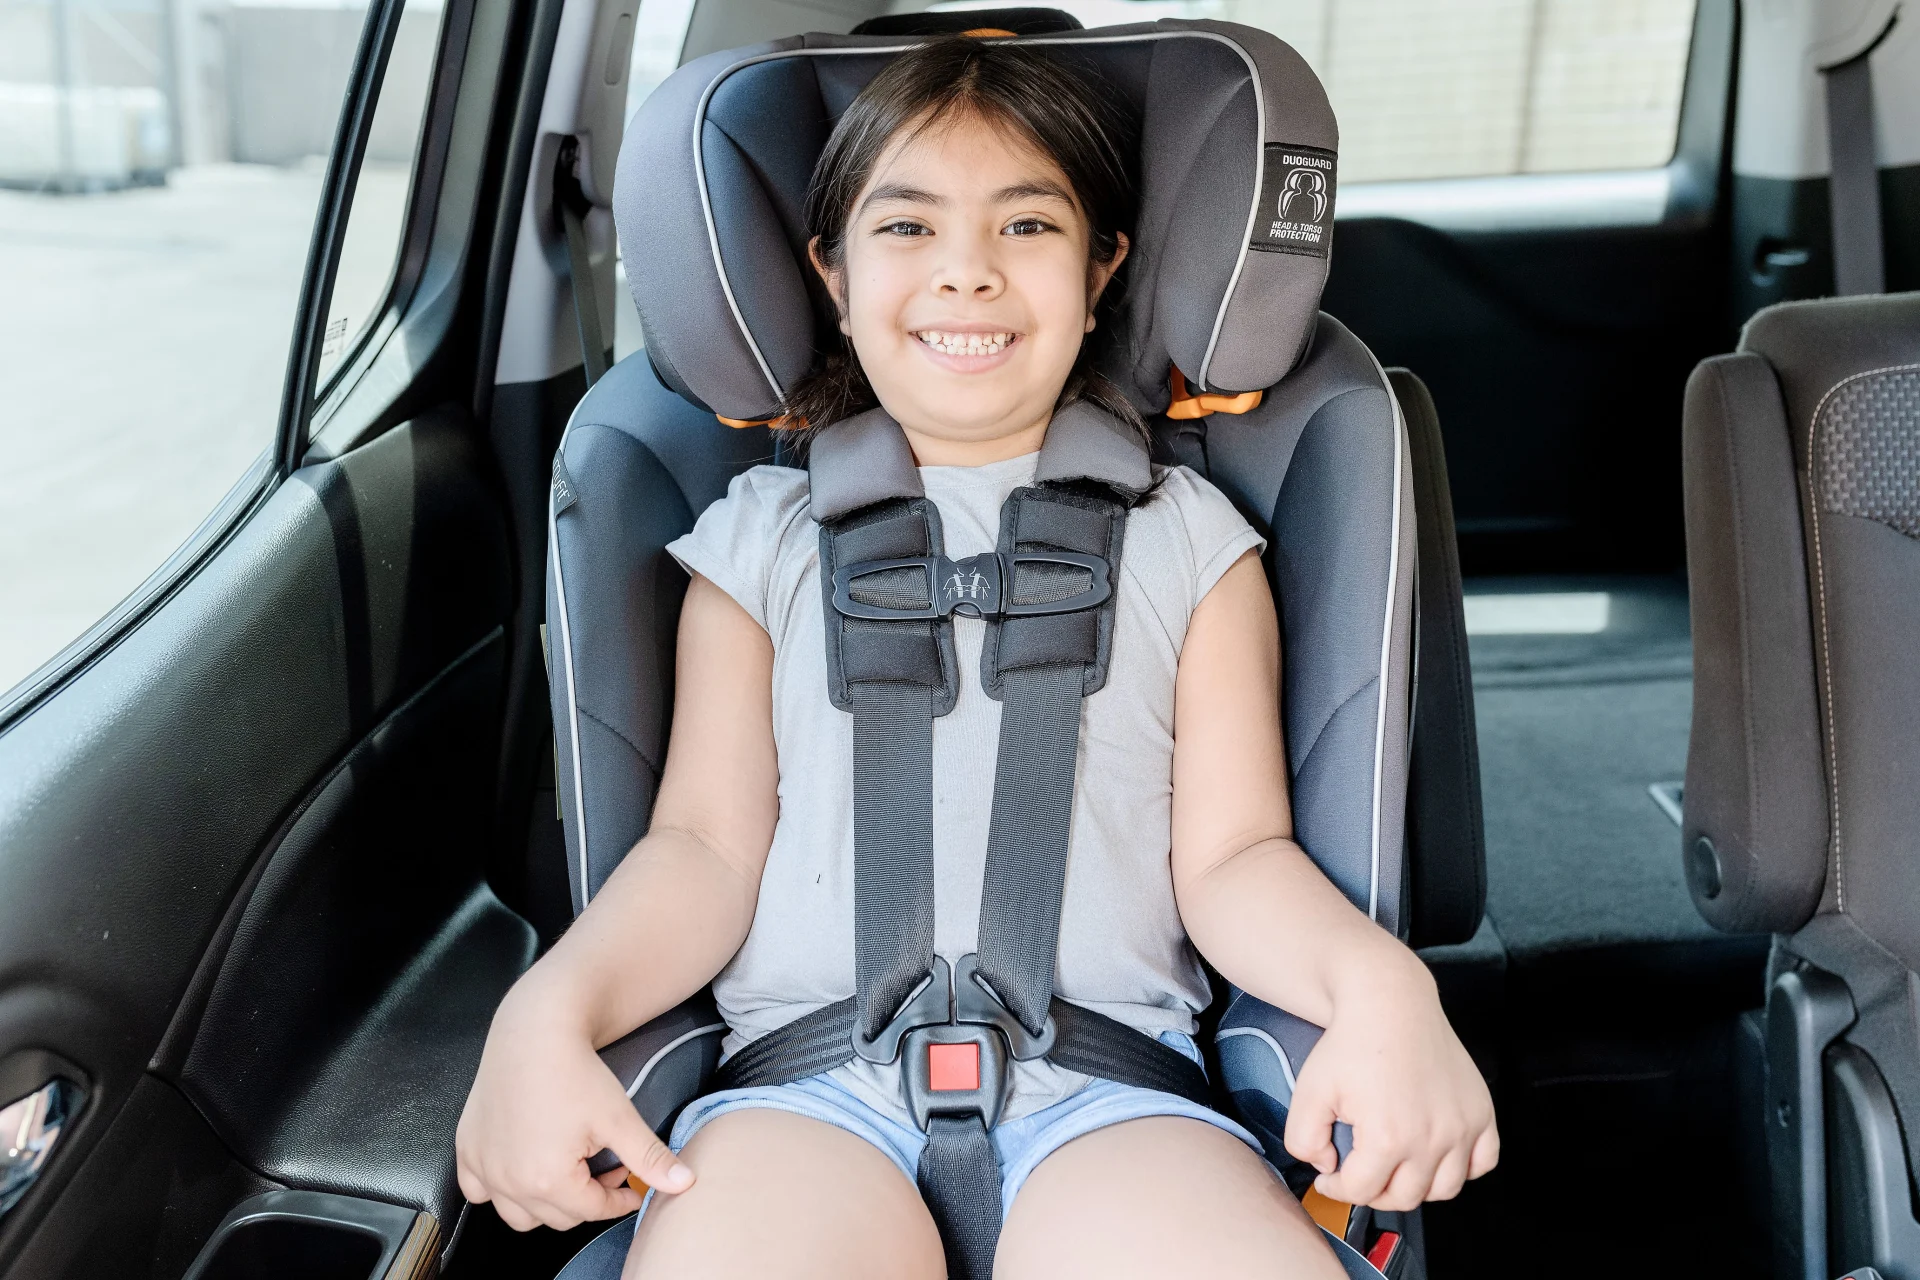
A forward-facing car seat is a car seat that faces the front of the vehicle rather than the rear. These seats use a five-point harness system to secure the child at the shoulders, hips, and between the legs. Like rear-facing seats, manufacturers design them to spread crash forces across the strongest parts of a child's body.
Forward-facing seats can be standalone restraint systems, but many convertible car seats include both a rear-facing and forward-facing mode. A child transitions to the forward-facing stage once they reach the maximum height or weight limit of their rear-facing seat. For many children, this happens sometime between ages 3 and 7. (But never go by age alone. Always go by your child's measurements and your car seat's limits!)
If you don’t have a convertible car seat or want to invest in a forward-facing only seat, here are the best forward-facing car seats based on our thorough review process. And, if you want advanced protection features, here are the safest forward-facing car seats.
What Are the Rules for Forward-Facing Car Seat?
All the different types of car seats come with their own rules, guidelines, and requirements. Before you start using a new seat, it's really important that you become an expert on your specific restraint system. You can do that by reading these rules and your car seat's manual (yes, cover to cover). That way, you know your child is truly safe in their seat!
These are the rules for using a forward-facing car seat:
Rule One: Keep your child rear-facing as long as possible before switching.
Ensure your child is actually ready for a forward-facing seat. Before transitioning out of rear-facing mode, they should reach the max standing height, head height or weight limit of their car seat. Keeping your child rear-facing is safest if they haven’t reached one of the limits.
For more information, read our guide: “When to Switch from Rear-Facing to Forward-Facing.”
Rule Two: Dispose of an expired or damaged car seat. Don’t use it.
Double-check the expiration date on your car seat. If you can't find it, contact the manufacturer for help. Most car seats have a lifespan of 7–10 years. Also, while you're checking for expiration, inspect the seat for any visible damage from storage or past use. Replace the seat if you find cracks in the plastic shell, missing parts, harness wear, mold, or damage caused by improper cleaning.
Rule Three: Never use aftermarket car seat accessories not approved by the manufacturer.
There are thousands of aftermarket car seat accessories available online, from head supports to harness covers. However, these products are not crash-tested and can even dangerously interfere with your car seat’s performance in a crash. To avoid any risks, only use accessories that came with your car seat or are specifically sold by the manufacturer for your exact seat model.
Rule Four: Always install forward-facing car seats in the back seat.
This one may sound obvious, but always install a car seat in the back seat. If you feel like you can't fit another car seat back there, the solution is not to move your forward-facing seat to the front passenger seat. Doing so is illegal in many states and can put your child at unnecessary risk. Instead, consider car seats that fit 3-across or explore vehicle options that better accommodate your family's needs. If you truly can't find an option that works, contact as using the Talk to a Tech service.
Rule Five: Follow both the vehicle manual and the car seat manufacturer’s instructions.
Both your vehicle and car seat have specific requirements for installation and use. Things like lower anchor limits, top tether locations, and approved seating positions can vary from one model to the next. Always read both manuals and follow the instructions carefully to ensure you’ve installed your child’s seat correctly.
Rule Six: Install the car seat properly using the seatbelt method.
It's true that most car seats have two installation options: LATCH and seatbelt. The LATCH system often feels easier because you simply connect the lower anchors to the anchors built into your vehicle.
However, lower anchors have weight limits (usually 65 pounds). And many parents don't realize those limits apply to the combined weight of the child and car seat. Because many children are nearing those limits by the time they transition to forward-facing mode, installing with the seatbelt is the better long-term option.
Rule Seven: Use the correct recline angle for your car seat.
Many parents assume recline settings only matter for rear-facing car seats, but that's not true. Most forward-facing car seats also have specific recline positions that must be used according to the manufacturer's instructions. Using the wrong recline angle can affect how the seat performs in a crash and may even make installation more difficult. Always check your car seat manual and make sure you’ve set the seat to an approved forward-facing recline position.
Rule Eight: Always use the top tether strap.
Here's one of the most common car seat mistakes. Forward-facing car seats have a top tether strap that attaches to a tether anchor behind the vehicle seat. This strap helps limit forward head movement in a crash and is a critical part of a safe installation. Because you don’t use top tethers with rear-facing seats, many parents don't realize how important they are. Always use the top tether when your child is forward-facing, and make sure it's attached to an approved tether anchor in your vehicle. (Check your vehicle manual for tether anchor locations.)
Rule Nine: Consider having your installation checked by a certified CPST.
Even the most careful parents can miss something during installation. That's why it's a good idea to have your forward-facing car seat checked by a Certified Child Passenger Safety Technician (CPST). They can verify that you installed the seat correctly, answer any questions you have, and help you feel confident that your child is riding as safely as possible.
You can find one locally or schedule a virtual check with our expert CPSTs.
Rule Ten: Thread the harness straps at or just above the shoulders.
The forward-facing harness strap position is different from the rear-facing position. In a rear-facing seat, the harness straps should be at or just BELOW your child's shoulders. In a forward-facing seat, they should be at or just ABOVE the shoulders. When adjusting the harness, have your child sit in the seat without bulky clothing so you can accurately determine the correct strap position.
Rule Eleven: Keep the chest clip positioned at armpit level.
When it's time to use the car seat, ensure the chest clip is at your child's armpits. Yes, this is the same in both rear- and forward-facing seats. This positions the harness properly across the chest and over the sternum, one of the strongest bones in the body. If the chest clip is too low, the harness may not distribute crash forces as effectively during a collision.
Rule Twelve: Make sure harness straps are snug with no slack.
A properly positioned harness won't do much good if it's too loose. After buckling your child in, tighten the harness until there's no visible slack in the straps. Then perform the pinch test: if you can pinch any excess webbing at your child's shoulders, the harness is still too loose. A snug harness helps keep your child properly positioned and protected during a crash.
Rule Thirteen: Check harness height regularly as your child grows.
Kids grow fast! Make sure you regularly check the harness strap height and adjust it when necessary. Remember, in a forward-facing seat, the harness straps should be at or just above the shoulders. Additionally, set a reminder on your phone to check the fit every 1–3 months. And if your child suddenly jumps up a clothing size or goes through a noticeable growth spurt, check it sooner.
Bonus Tip: We also recommend that you check the height and weight limits each time your child goes to the pediatrician. You’ll have that handy paper of their updated measurements, which is perfect for a quick car seat check.
Rule Fourteen: Don’t have the child wear bulky coats or thick clothing under the harness.
Winter coats, puffy jackets, and other bulky clothing can create a dangerous gap between your child and the harness. They make the straps seem tight. But when the material compresses during a crash, it leaves lots of extra slack in the harness. Instead, buckle your child in when they’re wearing thin layers. Then, after you’ve secured the harness, you can place a blanket or coat over them.
Here’s more on how to bundle up for winter weather.
Rule Fifteen: Transition to a booster seat only after exceeding forward-facing limits.
Never move up a car seat stage before your child has outgrown their current seat. A forward-facing seat with a harness provides more support and restraint than a booster seat. So, it's important to use it for as long as possible. Before transitioning, make sure your child has reached the forward-facing height or weight limit of their seat. While many seats max out between 49–57 inches and 40–65 pounds, always follow the limits listed by your car seat’s manufacturer.
Once your child moves to a booster seat, the vehicle seat belt becomes the primary restraint system. Children should remain in a booster until the lap belt fits low across the upper thighs (not the stomach) and the shoulder belt lies properly across the center of the chest and shoulder. Most children need a booster until around age 12 before the seat belt fits properly without one.
Rule Sixteen: Register your car seat for safety recall notifications.
Register your new car seat with the manufacturer as soon as you buy it. Registration helps the manufacturer notify you about any recalls or important safety updates. You can complete most registrations online in just a few minutes.
Rule Seventeen: Know what to do with your car seat after a crash.
The general rule after a crash is to replace your car seat. However, there's a little more nuance to it than that. Each brand has its own guidelines for when you should replace a seat after a collision. Some require replacement after any crash, while others allow continued use after certain minor crashes. Because the rules vary by brand, it's important to check your car seat manual and contact the manufacturer for guidance after an accident.
You can also read our post: “What Is the Car Seat Accident Replacement Law?”
When Do You Switch to a Forward-Facing Car Seat?
Rear-facing is the safest car seat position. That is why organizations like ours and the American Academy of Pediatrics recommend staying in that stage as long as possible. But, as soon as your child hits just one of the max limits of your rear-facing seat, it’s time to move up.
Make the switch to a forward-facing car seat when:
- The child has reached the rear-facing maximum height,
- The child has reached the rear-facing maximum weight,
- Or, the child has reached the head height limit
How to Install Forward-Facing Car Seat
Step One: Read the car seat manual and vehicle manual.
Both car seat and vehicle manuals contain important instructions for installation, weight limits, tether locations, and approved seating positions. Read them both before installing your seat.
Step Two: Place the forward-facing car seat in the back seat.
You should always install car seats in the back seat. The safest spot tends to be the back middle, but anywhere is better than the front seat. Of course, you need to choose a spot with an available top-tether anchor on the back of the seat.
If you’d like help choosing the best spot, read our post: “Where Should You Put Your Car Seat?”
Step Three: Thread the seatbelt or lower anchor strap through the forward-facing belt path.
Locate the belt path labeled for forward-facing use and thread the vehicle seatbelt through the opening from one side of the car seat to the other. Make sure the belt lies flat and isn't twisted anywhere along the path. Using the wrong belt path is a common installation mistake, so double-check your manual before moving on.
Step Four: Buckle and lock the seatbelt.
Thread the seatbelt through the forward-facing belt path and buckle it. Then, lock the seatbelt according to your vehicle's instructions. In most vehicles, you can do this by slowly pulling the shoulder belt all the way out and then feeding it back in. You'll hear a clicking sound as it retracts, indicating that you’ve locked the belt..
Some car seats also include a built-in seatbelt lock-off. A lock-off holds the seatbelt tight at the belt path, preventing it from loosening over time. If your car seat has one, use it!
Step Five: Press down on the car seat while tightening the installation strap.
As you tighten the seatbelt, apply firm pressure to the car seat with your hand. This helps remove slack from the installation and allows the seat to settle securely into the vehicle seat.
Step Six: Attach and tighten the top tether strap.
Locate the approved tether anchor for your specific seating position and connect the top tether hook. It's important to verify that you're using a designated tether anchor. Not every vehicle seat has one, and anchor locations vary by vehicle. Check your vehicle owner's manual if you're unsure where the approved anchor is located. Once connected, pull the tether strap tight.
Step Seven: Check that the seat moves less than one inch side to side or front to back.
Grab the car seat at the belt path and give it a firm handshake. The seat should not move more than one inch from side to side or front to back. Be sure to test movement at the belt path itself, not at the front of the seat.
Step Eight: Register the car seat with the manufacturer for safety recalls.
Register your car seat with the manufacturer as soon as possible after installation. Most brands allow you to register online using the model number and manufacturing date printed on the seat. This simple step helps ensure you receive notifications about recalls, safety alerts, and other important updates that may affect your child's safety.
Here’s how to register your car seat.
Keep your child safe using these forward-facing car seat rules.
Once your child reaches the forward-facing stage, proper installation and everyday use matter just as much as ever. The good news is that most mistakes are easy to avoid once you know what to look for. By taking the time to understand how your car seat works and following the manufacturer's instructions, you can help ensure your child gets the full protection their car seat was designed to provide.