A car seat’s LATCH system is one of the most important safety features for parents to understand. Though LATCH was designed to simplify the installation process, how to use it safely isn't always clear. Because of that, we recommend that all parents become intimately familiar with this installation method. Understanding how LATCH works can help you prevent dangerous car seat mistakes and ensure your child is safe on every ride!
In this post, we’ll talk about what LATCH actually is, how it works on different types of car seats, and when you should (and shouldn't) use it. Believe it or not, LATCH isn't appropriate for every situation! So grab your car seat manual, get comfortable, and let's break down everything parents need to know about the car seat LATCH system:
What Is a Car Seat LATCH System?
LATCH stands for Lower Anchors and Tethers for Children. It's a car seat anchoring system built into virtually every vehicle and car seat manufactured after 2002. As part of a federal safety initiative, regulators introduced the LATCH system to simplify car seat installation and reduce errors. Rather than relying on vehicle seat belts, parents could secure their car seats with dedicated anchors, connectors, and tethers designed specifically for child restraints.
To be honest, we don't think LATCH really achieves that goal. Many parents find seatbelt installation just as simple (if not simpler). And, in some circumstances, getting a tight install with a seatbelt is easier than using LATCH. Another thing many parents don't realize is that lower anchors have weight limits. It varies based on how much the car seat weighs.
That said, there's absolutely nothing wrong with using the LATCH system. When used correctly, it provides a safe and effective way to install a car seat. The key is understanding when you can use it, when you can't, and how to secure the seat according to both your vehicle owner's manual and car seat manual. A properly installed car seat is safe whether you use LATCH or a seatbelt, so the goal isn't choosing the "better" method. Instead, the goal is to choose the method that provides your child with the safest, most secure installation process in your specific vehicle.
Struggling to install your car seat and pick a method that’s right for you? Get one-on-one support from one of our CSPTs. They can guide you through the whole process!
How Does a LATCH System Work on a Car Seat?
All vehicles have lower anchors that connect to the car's frame.
Nearly every vehicle made after 2002 has lower anchors. Manufacturers weld these directly to the vehicle's frame, just like seat belts, ensuring the strongest attachment point possible. However, not every seating position has lower anchors. Federal guidelines only require at least two rear seating positions to have anchors and three to have tether anchors.
All car seats and some boosters include matching connectors.
All harnessed car seats also include the LATCH system. On the car seat itself, you'll find matching connectors that attach to the vehicle's lower anchors. For rear-facing models and infant car seats, you'll typically use only the lower anchors. However, once a child transitions to a forward-facing harnessed seat, you'll also need to attach and tighten the top tether anchor behind the vehicle seat.
Some belt-positioning booster seats also include LATCH connectors. This helps keep the booster secure and prevents unnecessary movement when the seat is unoccupied during a crash. Here are some of the best booster seats with LATCH system.
Adjustable straps on the connectors create a tight installation.
Once you've attached all the appropriate connectors to the designated anchors, it's time to tighten the installation. Most LATCH systems use adjustable straps that allow you to remove slack and pull the car seat securely against the vehicle seat. Your goal is a tight installation with less than one inch side-to-side and front-to-back movement when tested along the belt path.
Top tethers add protection for forward-facing seats.
When a child rides in a forward-facing harnessed car seat, the top tether becomes a critical part of the installation. This strap connects to a tether anchor behind the vehicle seat and helps secure the top portion of the car seat. However, many parents don’t realize this feature even exists! Failing to attach it is one of the most common child safety mistakes we see.
The system creates tension that stabilizes the car seat during a crash.
Once you tighten the connectors and secure any required tether, the entire LATCH system works together to hold the car seat firmly in place. This tension helps limit excessive movement during normal driving and stabilizes the seat during a collision. However, the LATCH system doesn't replace the need for proper installation. Parents still need to confirm the seat moves less than one inch along the belt path and follow all instructions in both the vehicle owner's manual and the car seat manual.
Here’s more on how to know if you’ve correctly installed your child’s car seat.
Rigid vs. Flexible LATCH Systems: Know the Difference
Flexible LATCH uses adjustable straps
.jpg)
Flexible LATCH is the most common type found on car seats today. It uses connectors attached to adjustable webbing straps that hook onto the vehicle's lower anchors. After connecting the hooks or push-on connectors, you tighten the straps to remove slack and create a secure installation.
Rigid LATCH connects directly to the anchors.
.jpg)
Rigid LATCH uses metal connectors that extend directly from the car seat frame and click straight into the vehicle's lower anchors. Instead of tightening straps, the connectors lock into place, creating a very solid connection between the car seat and vehicle. Because the connectors don't rely on webbing straps, installation is often faster and more straightforward.
How to Install Car Seat LATCH System
Step One: Locate the lower anchors.
As we mentioned earlier, virtually every vehicle manufactured after 2002 includes the LATCH system. However, many vehicles only provide complete LATCH positions in certain rear seating locations. Make sure to check your vehicle owner’s manual to confirm which seats are equipped with the anchors and tether points needed for installation.
Step Two: Set the seat belt aside.
Never use the vehicle seatbelt at the same time as a LATCH installation. Though both provide a secure way to install a car seat, using both can prevent the seat from performing as designed in a crash. Car seat manufacturers test and approve their seats using one installation method or the other, not both together, in most cases.
For more information, read our post “Can You Use the LATCH System and Seat Belt Together?”
Note: When using a front-facing car seat, you’ll need to use the top tether regardless of your installation method. This is the only exception to the rule!
Step Three: Position the car seat correctly.
Next, place the child seat in the desired seating position. Make sure it's sitting flat against the vehicle seat and reclined according to the car seat manufacturer's instructions. Rear-facing seats, in particular, often require a specific recline angle to protect your child's airway and provide optimal crash protection.
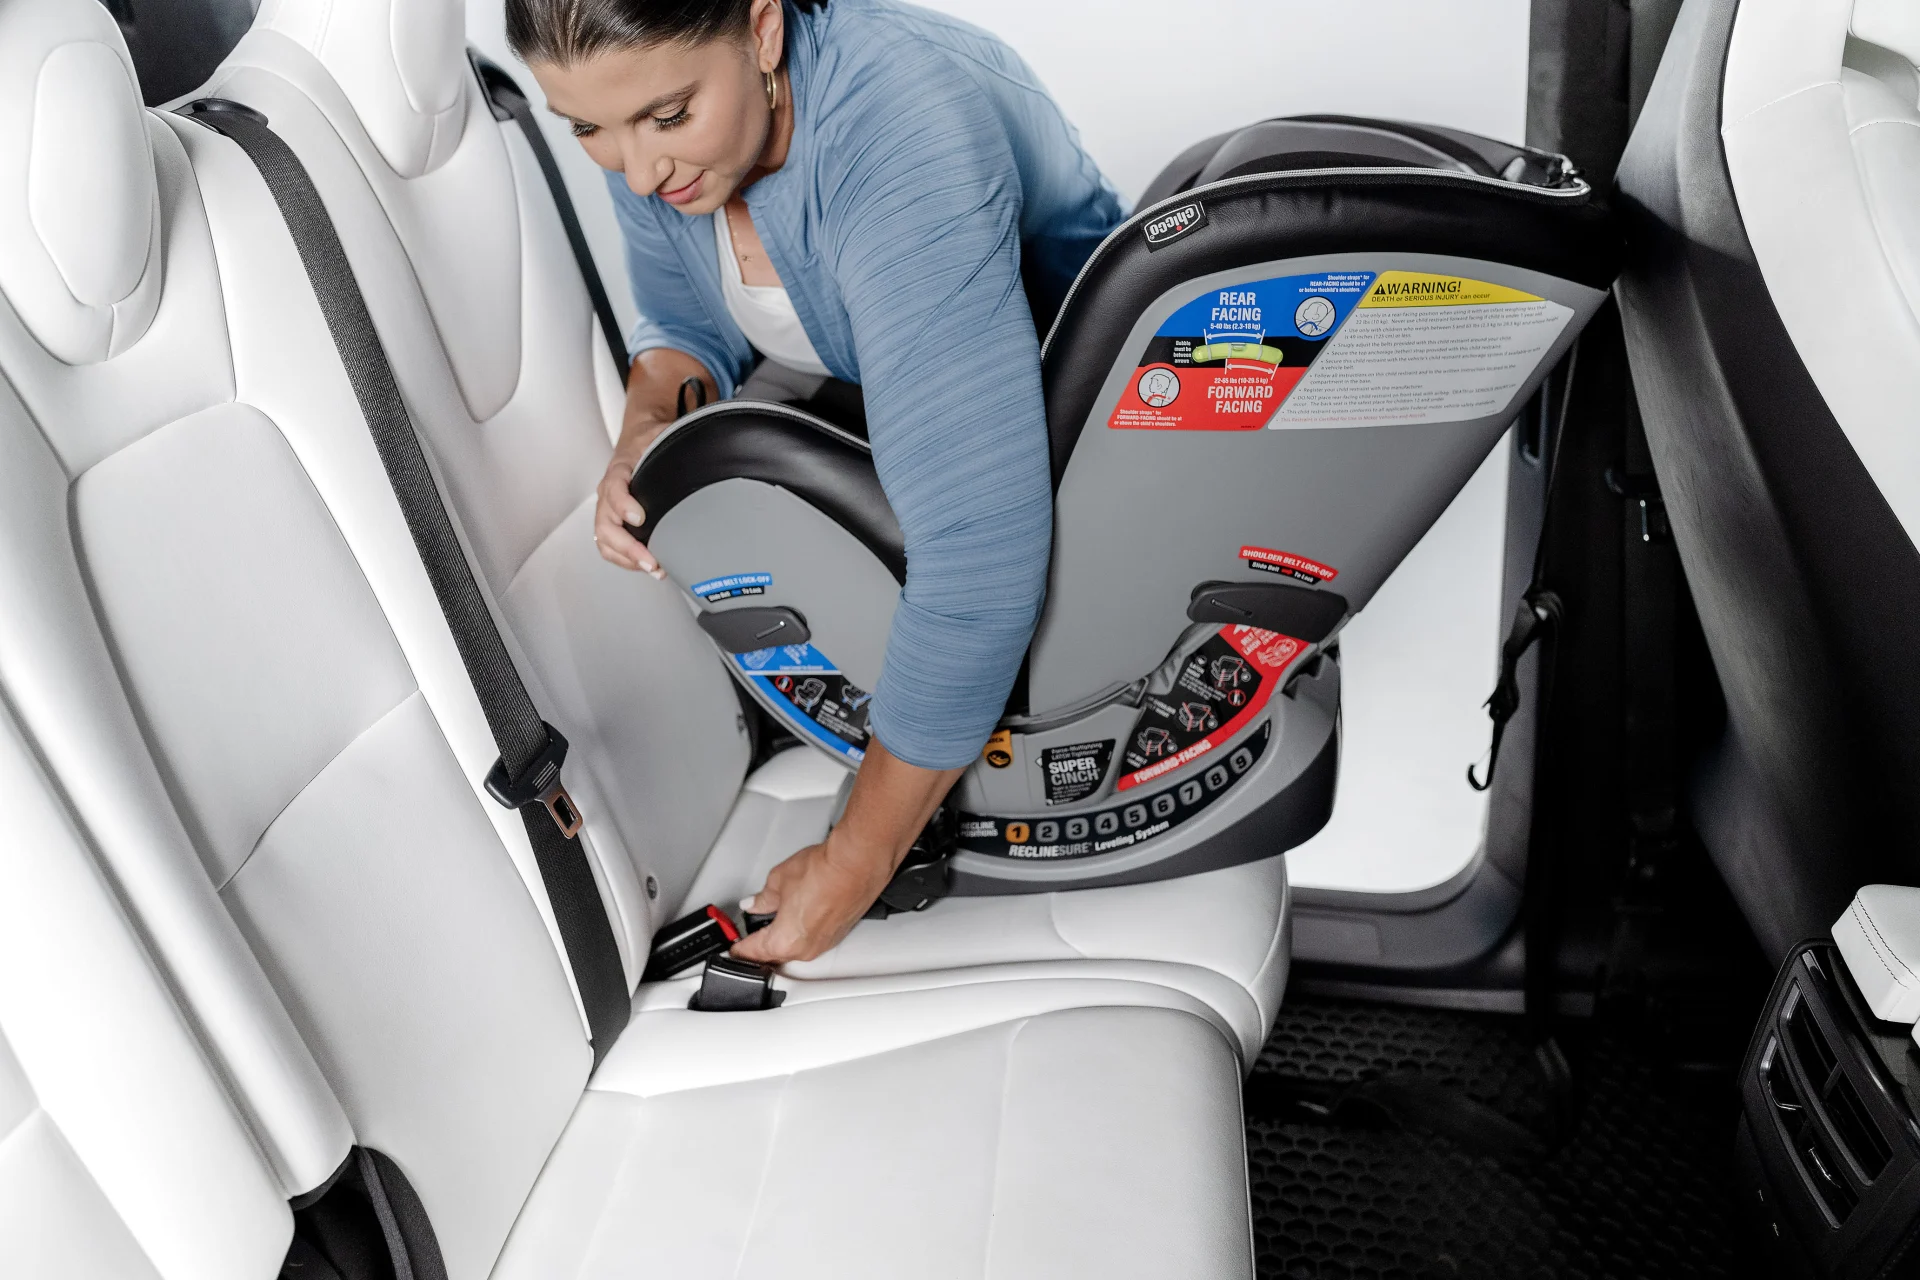
Step Four: Attach the lower LATCH connectors.
Locate the lower anchor connectors on your car seat and attach them to the vehicle's lower anchors. Most connectors will click into place when properly attached. Once connected, give each one a quick tug to confirm it is fully engaged before moving on to the next step.
Step Five: Tighten the LATCH straps.
Pull the adjustment strap to remove as much slack as possible from the system. You may need to place a hand in the car seat while tightening to help compress the vehicle seat cushion. Continue tightening until the installation feels secure and the car seat no longer shifts excessively.
Step Six: Attach the top tether for forward-facing seats.
If you're installing a forward-facing harnessed seat, locate the vehicle's tether anchor and connect the top tether strap. Then tighten the tether according to the instructions in your car seat and vehicle manuals. This important step helps reduce forward head movement in a crash and provides additional protection for your child.
Step Seven: Check for less than one inch of movement.
Finally, test the installation at the belt path. (The location where the LATCH strap passes through the car seat.) Grab the seat with your non-dominant hand and firmly push and pull it side to side and front to back. If the seat moves less than one inch in any direction, you've achieved a secure installation. If it moves more than that, continue tightening and recheck before using the seat.
A car seat LATCH system is one of the two installation options.
While LATCH can seem intimidating at first, it becomes much easier once you understand how the system works and when to use it. The most important thing to remember is that neither LATCH nor a seatbelt installation is inherently safer than the other. What matters most is achieving a secure installation, following both manuals, and making adjustments as your child grows. That’s how we keep our kids safe in their seats!