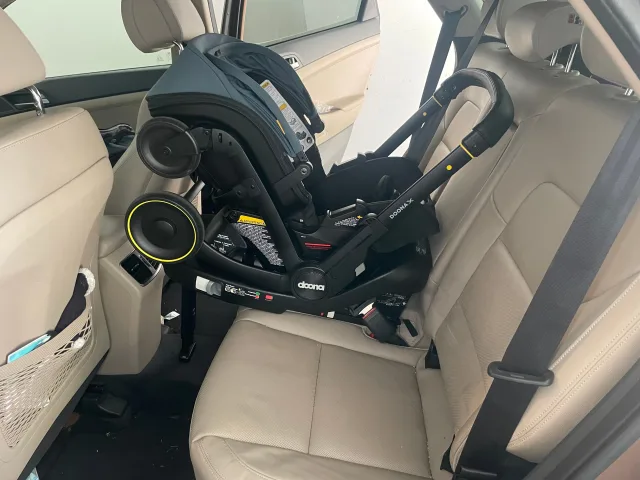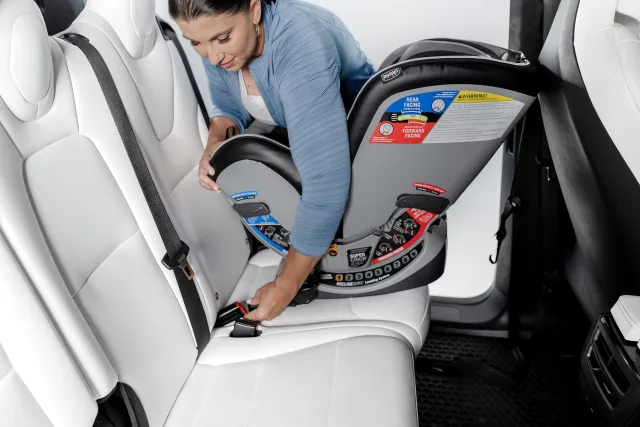
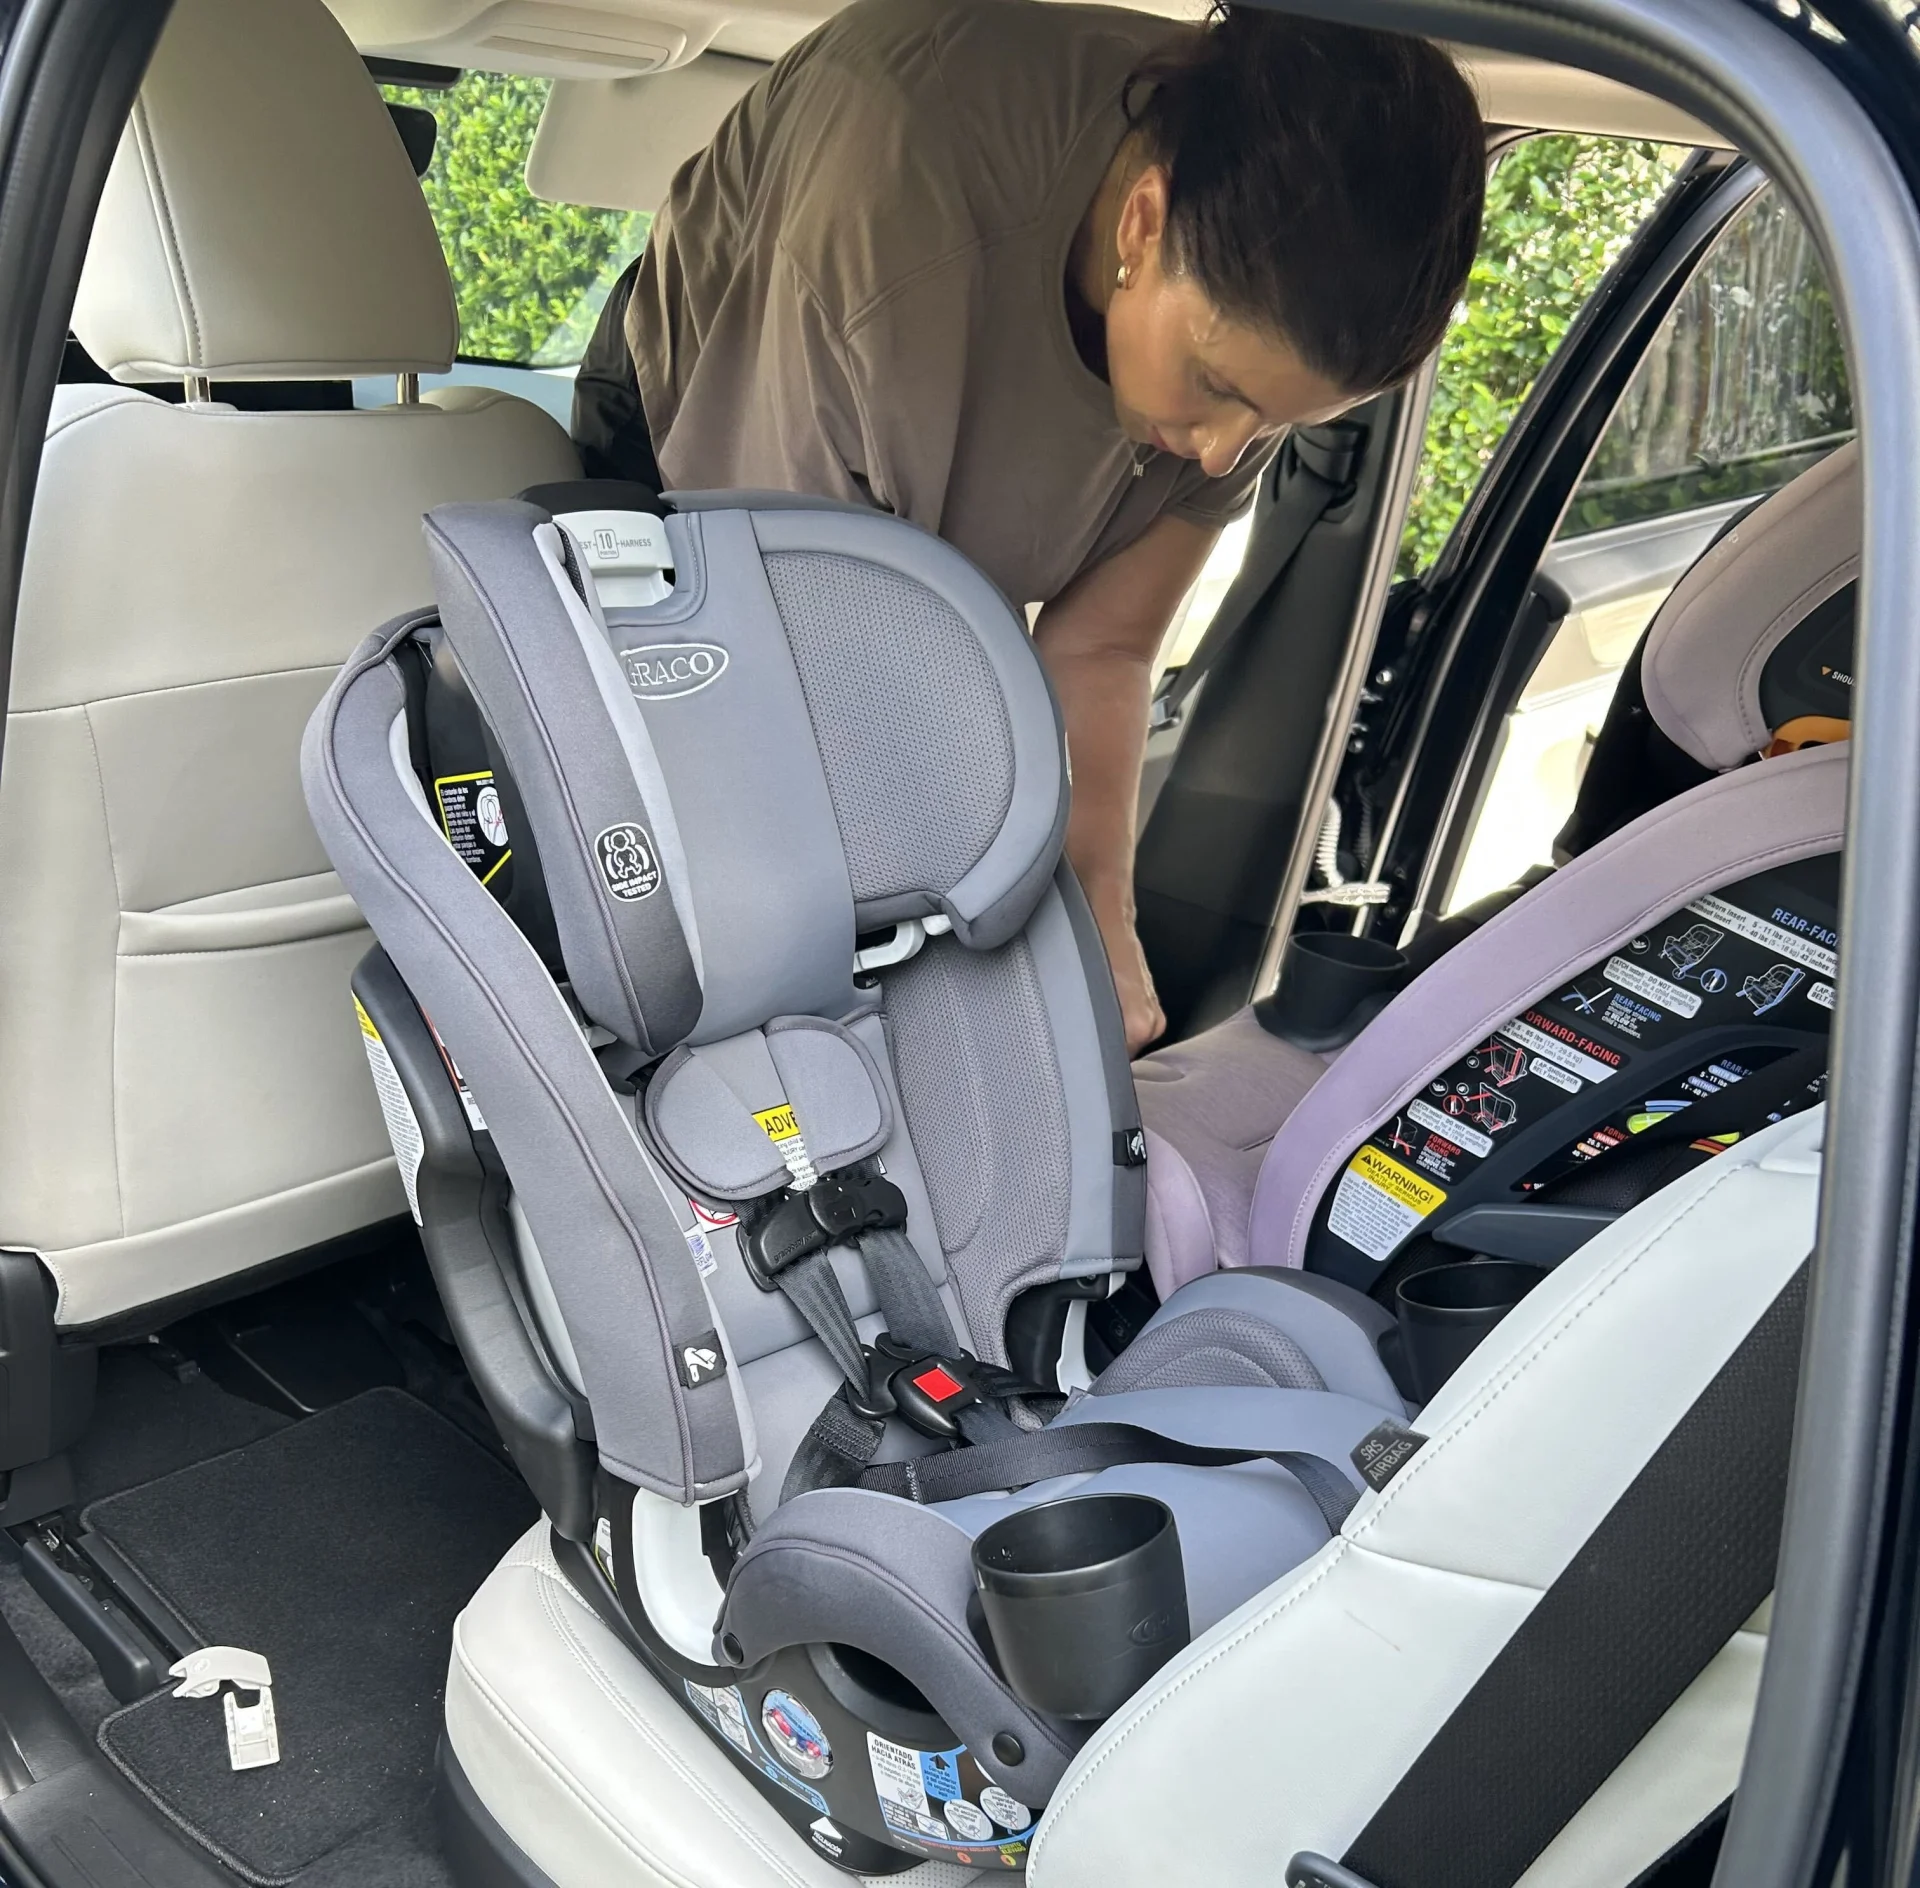
Installing a car seat is one of the most important things you’ll ever do for your kids. Yet, it’s also one of the most confusing. If you've ever knelt in your back seat, sweating, yanking on a strap, and wondering if you're doing it right, we promise you aren’t alone. Learning how to install a car seat correctly is genuinely one of the biggest steps you can take to keep your little one safe on every single drive.
That said, so many car seats get installed wrong, and not for the reasons you’d think. It's rarely because a parent doesn't care; it's because instructions are dense, positioning feels unclear, and no two vehicles seem to work exactly the same way. A lot of parents tell researchers the same thing: "it was harder than expected" and "instructions were difficult to understand when looking between the car seat and car manuals."
You do not need to memorize your manual or understand every piece of car seat terminology to install your seat correctly. You just need to know what matters for your seat, your car, and your child.
So consider this your friendly, judgment-free guide. We're going to walk through exactly how to install your car seat safely and securely, minus the jargon and shame. Let's make this simpler.
How to Install a Car Seat: A Realistic Step-by-Step Guide
Why Learning How to Install a Car Seat Correctly Matters So Much
Proper car seat installation is critical for child safety. When a seat is installed incorrectly, it can't do its job the way it was designed to in a crash. Ultimately, this can reduce its effectiveness and increase the risk of injury to children. Taking a little extra time to install and verify your seat properly can make a real difference in your child's safety on every trip.
And this really is worth your time, because the numbers are eye-opening. According to the National Highway Traffic and Safety Administration, 46% of car seats are installed incorrectly, even though many parents and caregivers are confident they’ve installed them properly. As a CPST, I know exactly how technical car seat installation can get. And as a mom, I know you’re usually not doing this under perfect conditions. You’re in the driveway, probably sweating, with a kid who needs something and a million other things on your mind. My goal isn’t to turn you into a car seat expert. It’s to help you know what actually matters so you can look at your seat and feel confident that you got it right.
Here's the reassuring part, though. Studies by the NHTSA have found that use of a child safety seat can reduce the risk of death from a crash for infants by 71% and for toddlers by 54%. When a car seat is installed correctly, it is an incredibly powerful piece of safety equipment. This is very much a “control the controllable” situation. While you can’t control every aspect of the road, you can control how your child’s car seat is installed.
If you want to zoom out and see how installation fits into the bigger picture of car seat safety, our full guide, “Car Seat Best Practices,” is a great companion read.
Does a Car Seat Need to Be Professionally Installed?
Short answer: no, a car seat does not have to be professionally installed. You are completely capable of doing this yourself, and most parents do. But we highly recommend having your work double-checked, especially the first time.
Certified technicians (CPSTs) are trained to check for proper fit and catch the little things that are easy to miss. Technicians help educate families on choosing the right car seat for a child, teaching the caregiver how to install the seat correctly, and using the seat correctly every time. Even seasoned pros benefit from a fresh set of expert eyes, because every car seat and vehicle combination is a little different.
You can find an inspection site in your area using the “Car Seat Inspection” tool on the NHTSA website, which may be free. But usually the best option is to find a CPST near you by using this form. However, if there's no local option near you, virtual checks exist too! Whether you’re a first-time car seat parent or you’re on your third kid, getting your car seat checked is the best move for peace of mind.
If you'd rather have one of our own techs look things over from home, our “Talk to a Tech” option connects you with a CPST who can review your setup. Ask a question, send a photo or video, and get expert eyes on your child’s seat whenever you need them.
Where Do You Install a Car Seat?
The reality is the back seat is the safest place for your child passenger, every time. More specifically, kids are safest in the back, away from the front airbag, often until they're 12 years old. Most booster seats accommodate children up to a height of 57+ inches, and generally, kids stay in the back seat through those years and beyond.
However, age alone doesn’t determine when your child can safely transition out of a car seat. It’s important to ensure they also pass the 5-step test, demonstrating that the shoulder belt and lap belt fit correctly. You can learn more about this in our guide, “Laws on Booster Seats by State.”
While your child sits in the back seats, where exactly is it most appropriate to install their car seat? If you can get a solid, secure install there, the rear center position is often considered the safest spot because it's the farthest from any point of impact. That said, the center isn't always usable. Some center seats are too narrow or contoured for a good fit.
Here's the thing we always come back to: the safest seat is the one you can install correctly and tightly, every single time. A rock-solid install in an outboard position beats a wobbly one in the center.
For a deeper dive on picking the right spot in your specific vehicle, we walk through it all in our guide: Where to Place Car Seat in Car.
If I only had 5 minutes to check your car seat installation...
- Is it installed with an approved method?
- Does it move less than 1 inch at the belt path?
- Is the recline correct?
- If forward-facing, is the tether attached?
- Is your child harnessed correctly?
There are dozens of tiny things you can worry about with a car seat. These are the things I want your attention on first.
How to Properly Install a Car Seat
Okay, let's get into the actual how-to. Every seat is a little different, so your owner's manual (both the car seat manual AND your vehicle manual) will always offer the most personalized advice.
However, below, we will outline the universal steps that apply to nearly every installation method. Think of it this way: master these, and you'll understand what's happening no matter which seat you're working with.
Step #1: Place the Car Seat in the Correct Position
Start by putting the seat where it belongs and facing the right direction for your child's age and size. Rear-facing car seats should be installed rear-facing, and forward-facing car seats should be installed forward-facing. For an infant car seat or any rear-facing setup, the seat cradles your baby facing the rear of the car, which spreads crash forces across their whole back. This is why we keep little ones rear-facing for as long as possible.
For additional information, review our helpful guide: “When to Switch From Rear-Facing to Forward-Facing.”
Step #2: Choose LATCH or Seat Belt Installation
Next, decide on your installation method: the LATCH system (lower anchors) or the vehicle's seat belt. It’s important to note that both options are safe. This is worth repeating because so many parents worry they picked the "wrong" method. Using the car's seat belt to install your child safety seat is just as effective as using the LATCH system, as long as it is properly installed.
However, keep in mind that LATCH was designed to make installation easier, not safer. There is a weight limit when using LATCH, which is important to know when deciding on your desired car seat installation method.
You can determine the maximum allowable child weight for lower anchor use by checking the stickers on the car seat or looking in the car seat manual. Once your child outgrows the manufacturer’s established limits for lower anchors, you must stop using the lower anchor attachments and reinstall the car seat using the vehicle’s seat belt.
And please, don't use both at once. You should never use the LATCH system and vehicle seat belt simultaneously for the same car seat installation, unless it is one of the very few seats that says in the manual it is allowed. Either use the lower anchors OR the seat belt, plus the top tether for forward-facing seats.
If you’re new to this process, review our post, “Car Seat LATCH System: A Parent’s Installation Guide.”
Step #3: Thread the Belt or Attach the Anchors Correctly
Now, route your car seat through the correct belt path. Rear-facing and forward-facing modes typically use different belt paths, so check the labels on your seat carefully. If you're using LATCH, clip the lower anchor connectors onto the vehicle's anchor bars and make sure the strap isn't twisted. If you're using the seat belt, thread it through the right path and lock it (your vehicle manual explains how your specific seat belt locks).
Step #4: Adjust the Recline Angle If Needed
Rear-facing seats especially need the correct recline angle so your baby's airway stays open and their head is supported. Too upright and their chin can drop to their chest; too reclined and the seat won't protect them properly. Most seats have a built-in recline indicator or adjustable base, so use it and match it to your child's age and size per the manual. Some forward-facing and booster modes may also have recline indicators.
Step #5: Tighten Until the Seat Does Not Move More Than 1 Inch
This is the step that trips up the most people, so slow down here. Press down into the seat with your hand while you pull the strap or belt tight. Then test it. Check the tightness by grasping the car seat near where the seat belt or lower anchor strap passes through and trying to move the car seat. You should not be able to move it side-to-side or front-to-back more than 1 inch. If it moves more than that, loosen, reposition, and try again. A tight install matters for your child’s overall safety.
Step #6: Secure the Top Tether for Forward-Facing Seats
If your child has moved to a forward-facing car seat with a harness, the top tether is a must, whether using LATCH lower anchors or seat belt. NHTSA data shows top tether use reduces head excursion by 4 to 6 inches in a crash. That's several inches your child’s head won’t travel toward the seat in front of them. Clip it to the correct anchor point in your vehicle and tighten.
Step #7: Check Alignment and Stability
Finally, step back and do a full once-over. Is the seat level and flush? Is everything tight and untwisted? Give it one more wiggle test at the belt path. This last check takes thirty seconds and gives you real peace of mind before you buckle in your little one.
Your seat is installed. Now check the other half of the equation.
A perfectly installed car seat can still be used incorrectly once your child is buckled in. Installation matters. Harness fit matters. You need both.
How to Know If a Car Seat Is Installed Properly
Once your car seat and vehicle are working together, how do you actually know it's right? Here are the four things we always verify. If all four check out, you can feel genuinely confident both in your installation process and on the road.
Moves Less Than 1 Inch Side to Side
Grab the seat at the belt path and try to move it. You shouldn't be able to move the seat forward, back, or side-to-side more than one inch. If you can move it more than that, the car seat is too loosely installed. Loose installation is actually one of the most common issues techs see, so if this is you, you're in very normal company. Just tighten and re-test.
Proper Recline Angle
Double-check that recline indicator, especially for rear-facing seats and infant seats. The angle protects your baby's airway and positions them safely, so make sure it lines up with the guidance in your manual for your child's age and stage.
Harness Fits Snugly
Now check how your child sits in the seat. The harness should be snug enough that you can't pinch any slack at the shoulder. For rear-facing seats, the harness straps should be at or below the shoulders. For front-facing seats, the straps should be threaded at or just above the shoulders. A too-loose harness is one of the most common misuses out there, so this one's worth a daily glance. Snug straps, no bulky coats, and you're golden.
To learn more about harness fit, read our guide, “Can Your Child Wear a Coat in the Car?”
Chest Clip at Armpit Level
Last one, and it's simple. The chest clip should sit at armpit level, not on the belly and not up on the neck. Having the chest clip in the wrong spot is a common mistake; the purpose of the chest clip is to keep the harness straps secured and in the proper place on your child's body. A quick slide up or down and you're set.
By following these tips, you’re one step closer toward confident car seat installation.
Here's what we want you to walk away with: getting a car seat installed correctly is absolutely doable, and now you know exactly what to look for. You've got the steps, you've got the checks, and you know when to call in a tech. That’s a big deal, and it’s the first step to taking real control of your kid’s safety.
If you're shopping for your next seat and want the guesswork gone, our Convertible Buying Kit walks you through choosing a seat that fits your child, your car, and your life. Also, infant and forward-facing booster seat kits are launching later this summer! Hop on the Buying Kit Waitlist if you want to be reminded of this release. And because car seat questions never really stop coming, join our newsletter for straightforward safety tips delivered right to your inbox. Car seat parents, you got this!